Interacting with Tanssi-powered EVM appchains Using Ledger
Introduction
Developers and users of Tanssi-powered EVM appchains, such as the Tanssi demo EVM appchain, have a variety of options when it comes to wallets. Regarding cold wallets, which store your private keys in a secure, offline environment, Ledger is one of the most popular options. Ledger provides full support for Substrate blockchains, such as the Tanssi network.
Ledger devices are hardware wallets designed to store the private keys offline. They are used to verify and sign the transactions, but they still need a software layer to provide the UI that interacts with the networks, builds the transactions, and sends the signed transactions back to the network once the user has verified them.
This guide takes you through all the necessary steps to use your Ledger device with Tanssi-powered EVM appchains.
Setting Up Your Ledger Device
If you have a brand new Ledger device, refer to the official website for a guide on getting it started with the initial setup.
Now, with your Ledger already initiated, install the Ethereum app taking the following steps:
- Open the Ledger Live App on your computer.
- Go to My Ledger.
- Connect and unlock the device.
Finally, search for the Ethereum (ETH) app in Ledger Live and install it on your device.
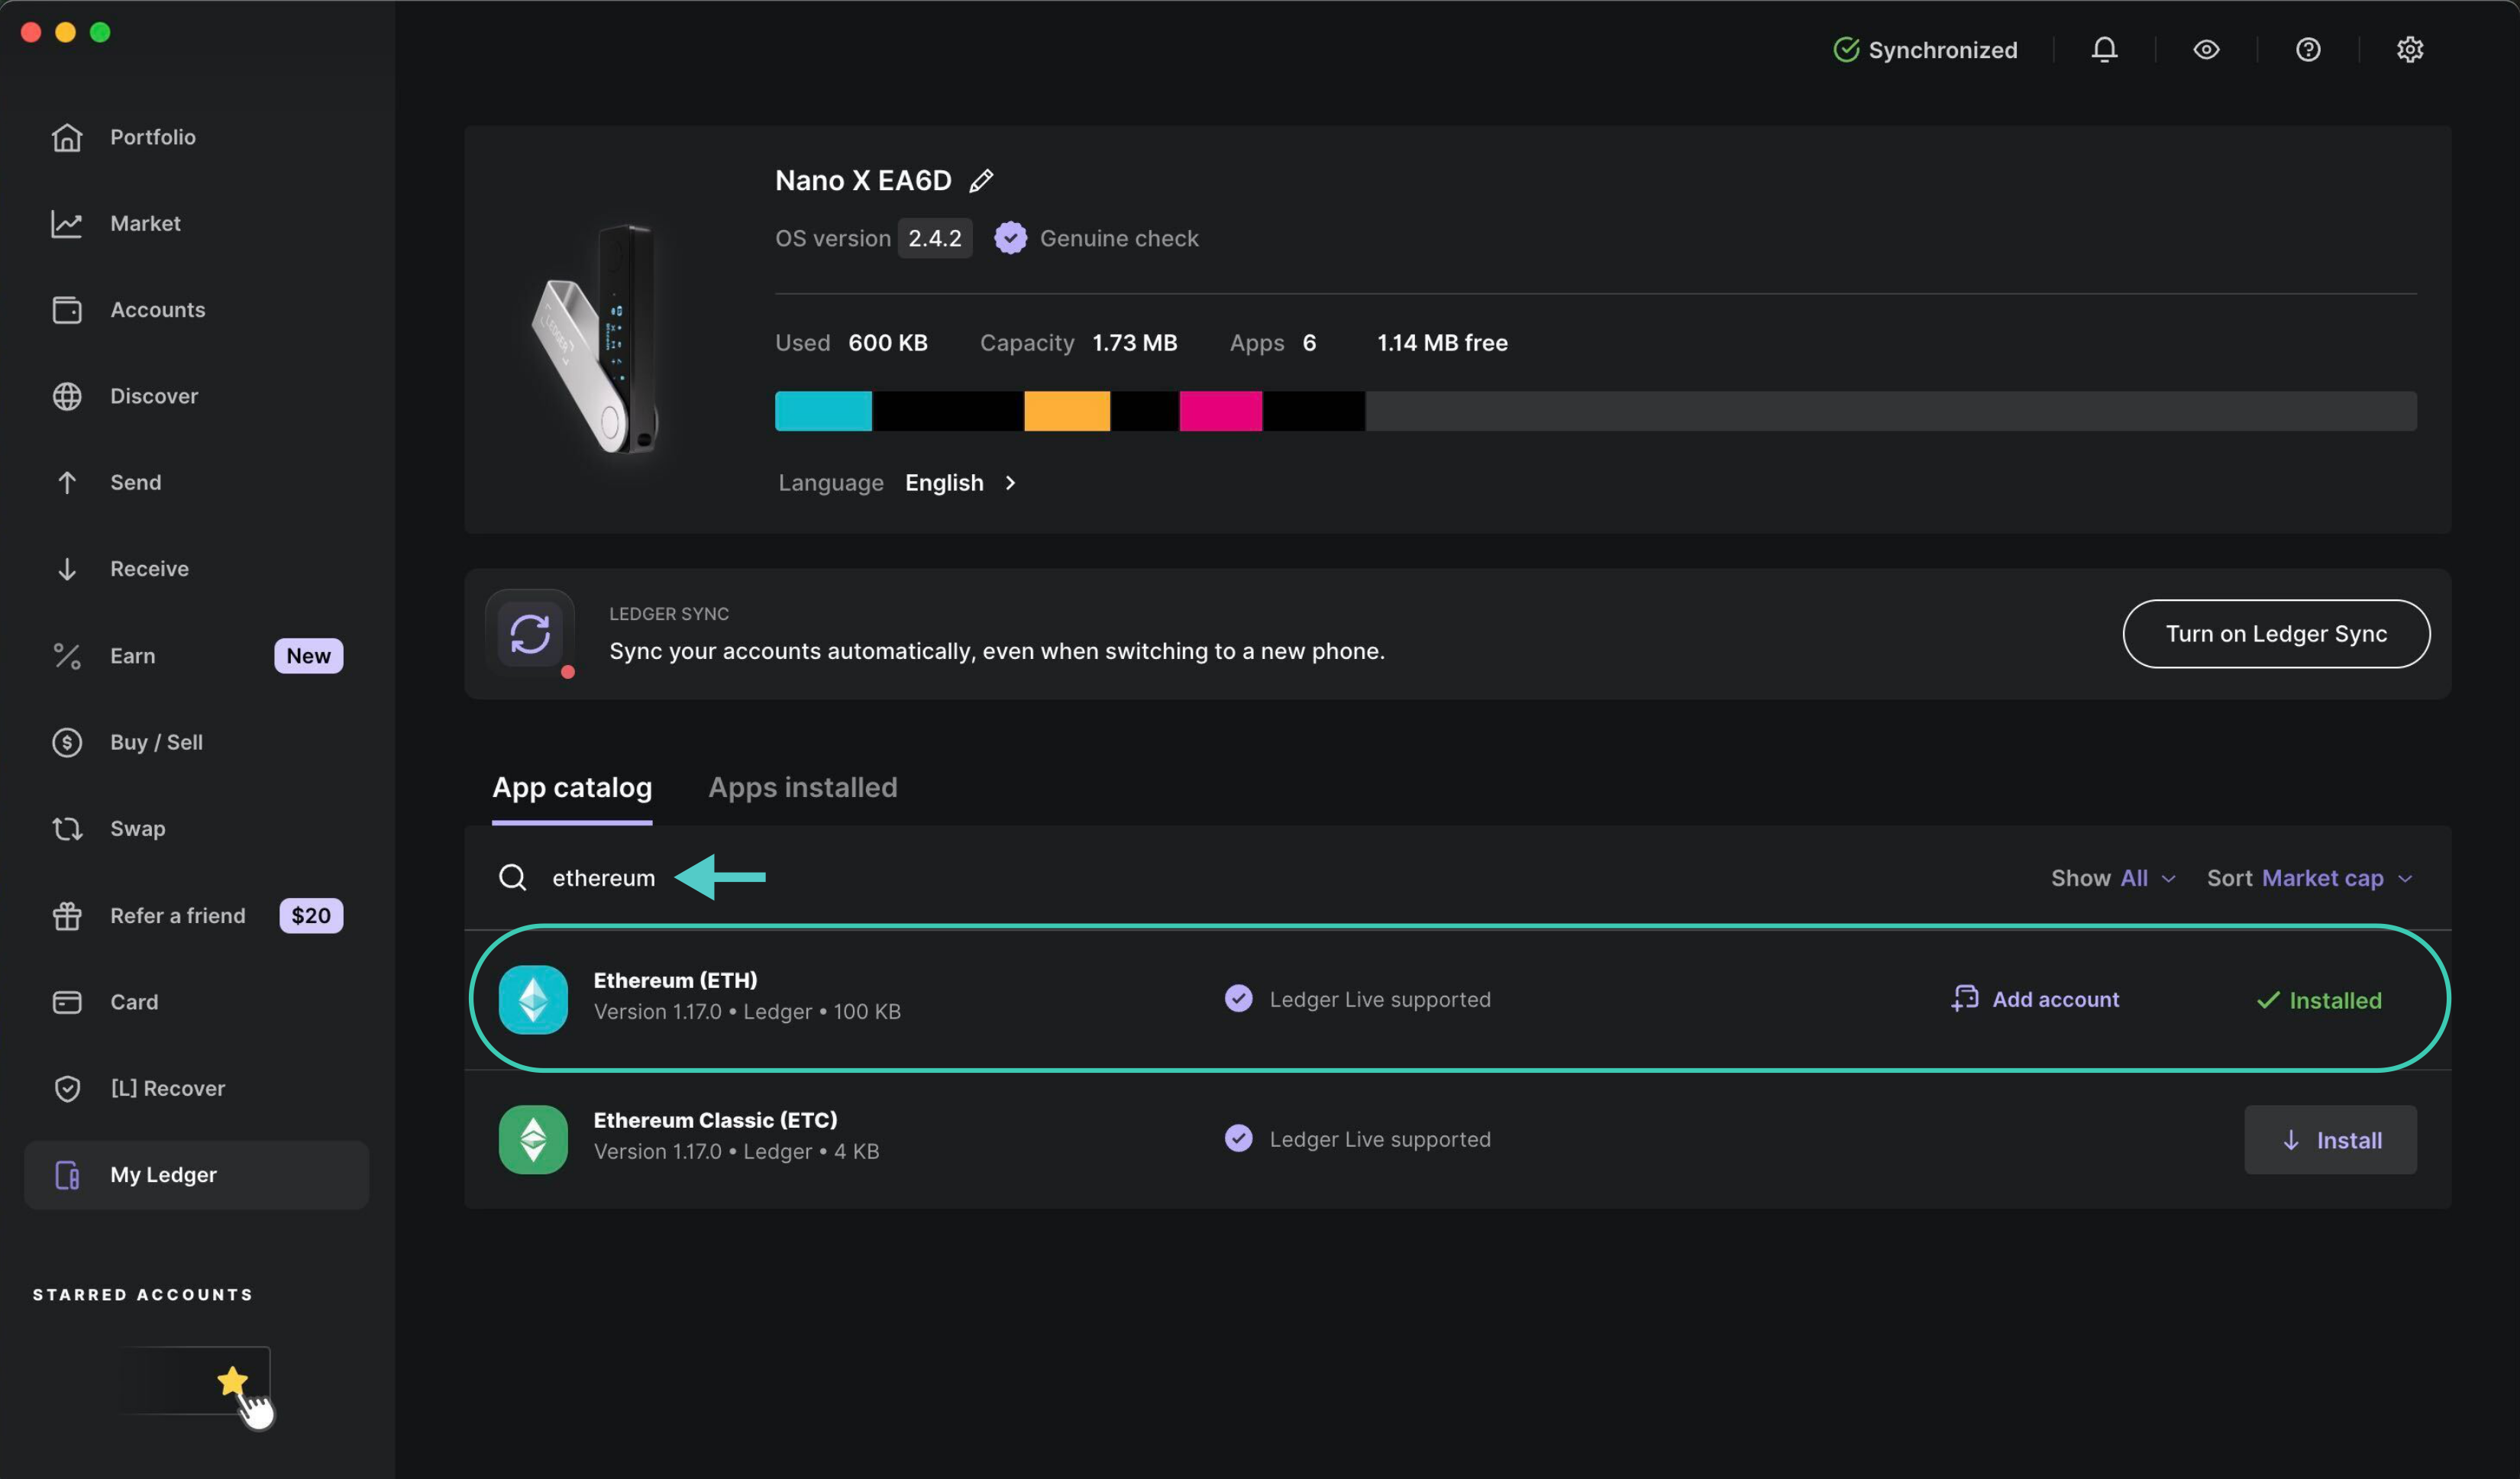
And that's it. Your device now has an Ethereum account and is able to sign transactions on any Tanssi-powered EVM appchain.
Adding the Ledger to a Hot Wallet
As presented in the introduction, a Ledger hardware wallet provides secure, offline storage for private keys, allowing users to verify and sign transactions. However, by design, it can't interact with blockchains or dApps by itself, nor does it offer a UI for managing assets. To complement the device, a hot wallet is required. The user can choose any Ethereum-compatible wallet.
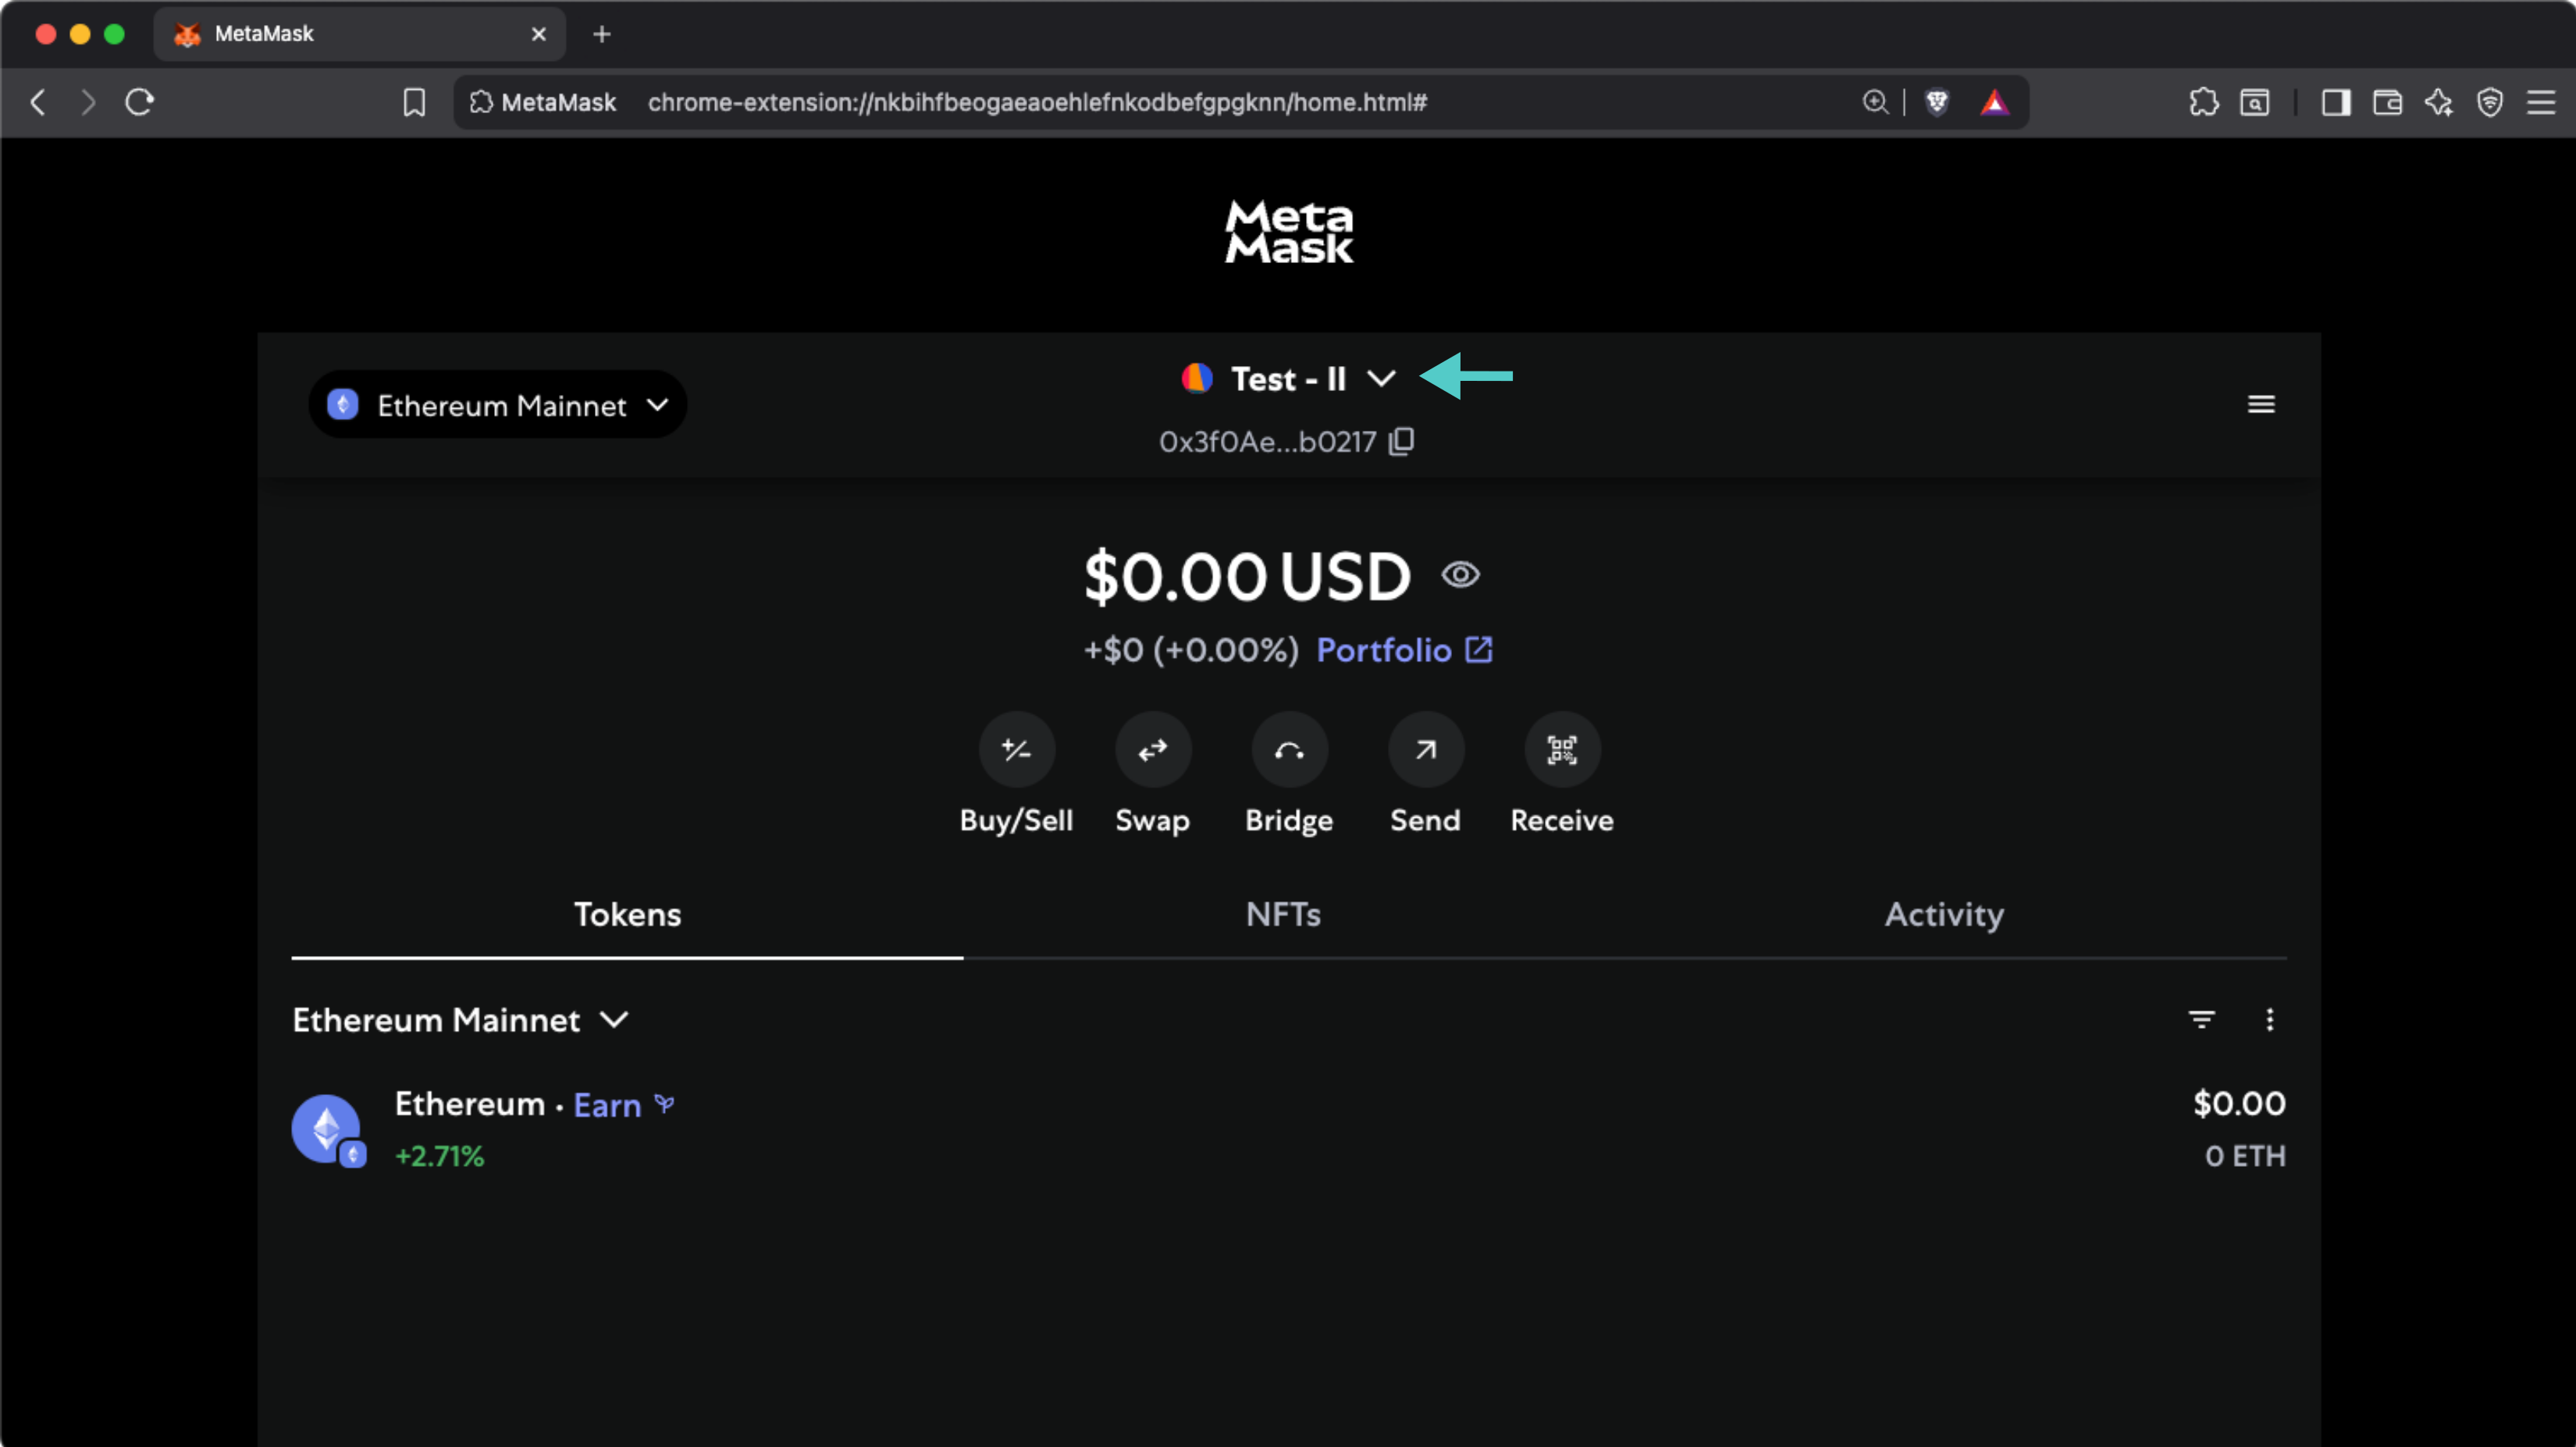
For demonstration purposes, we'll show how to configure Metamask to work with your hardware wallet, but these steps are generally applicable to any other wallet that supports Ledger. To follow along with the steps, make sure you have Metamask installed in your browser, then open the extension and click on the dropdown icon next to the account name.
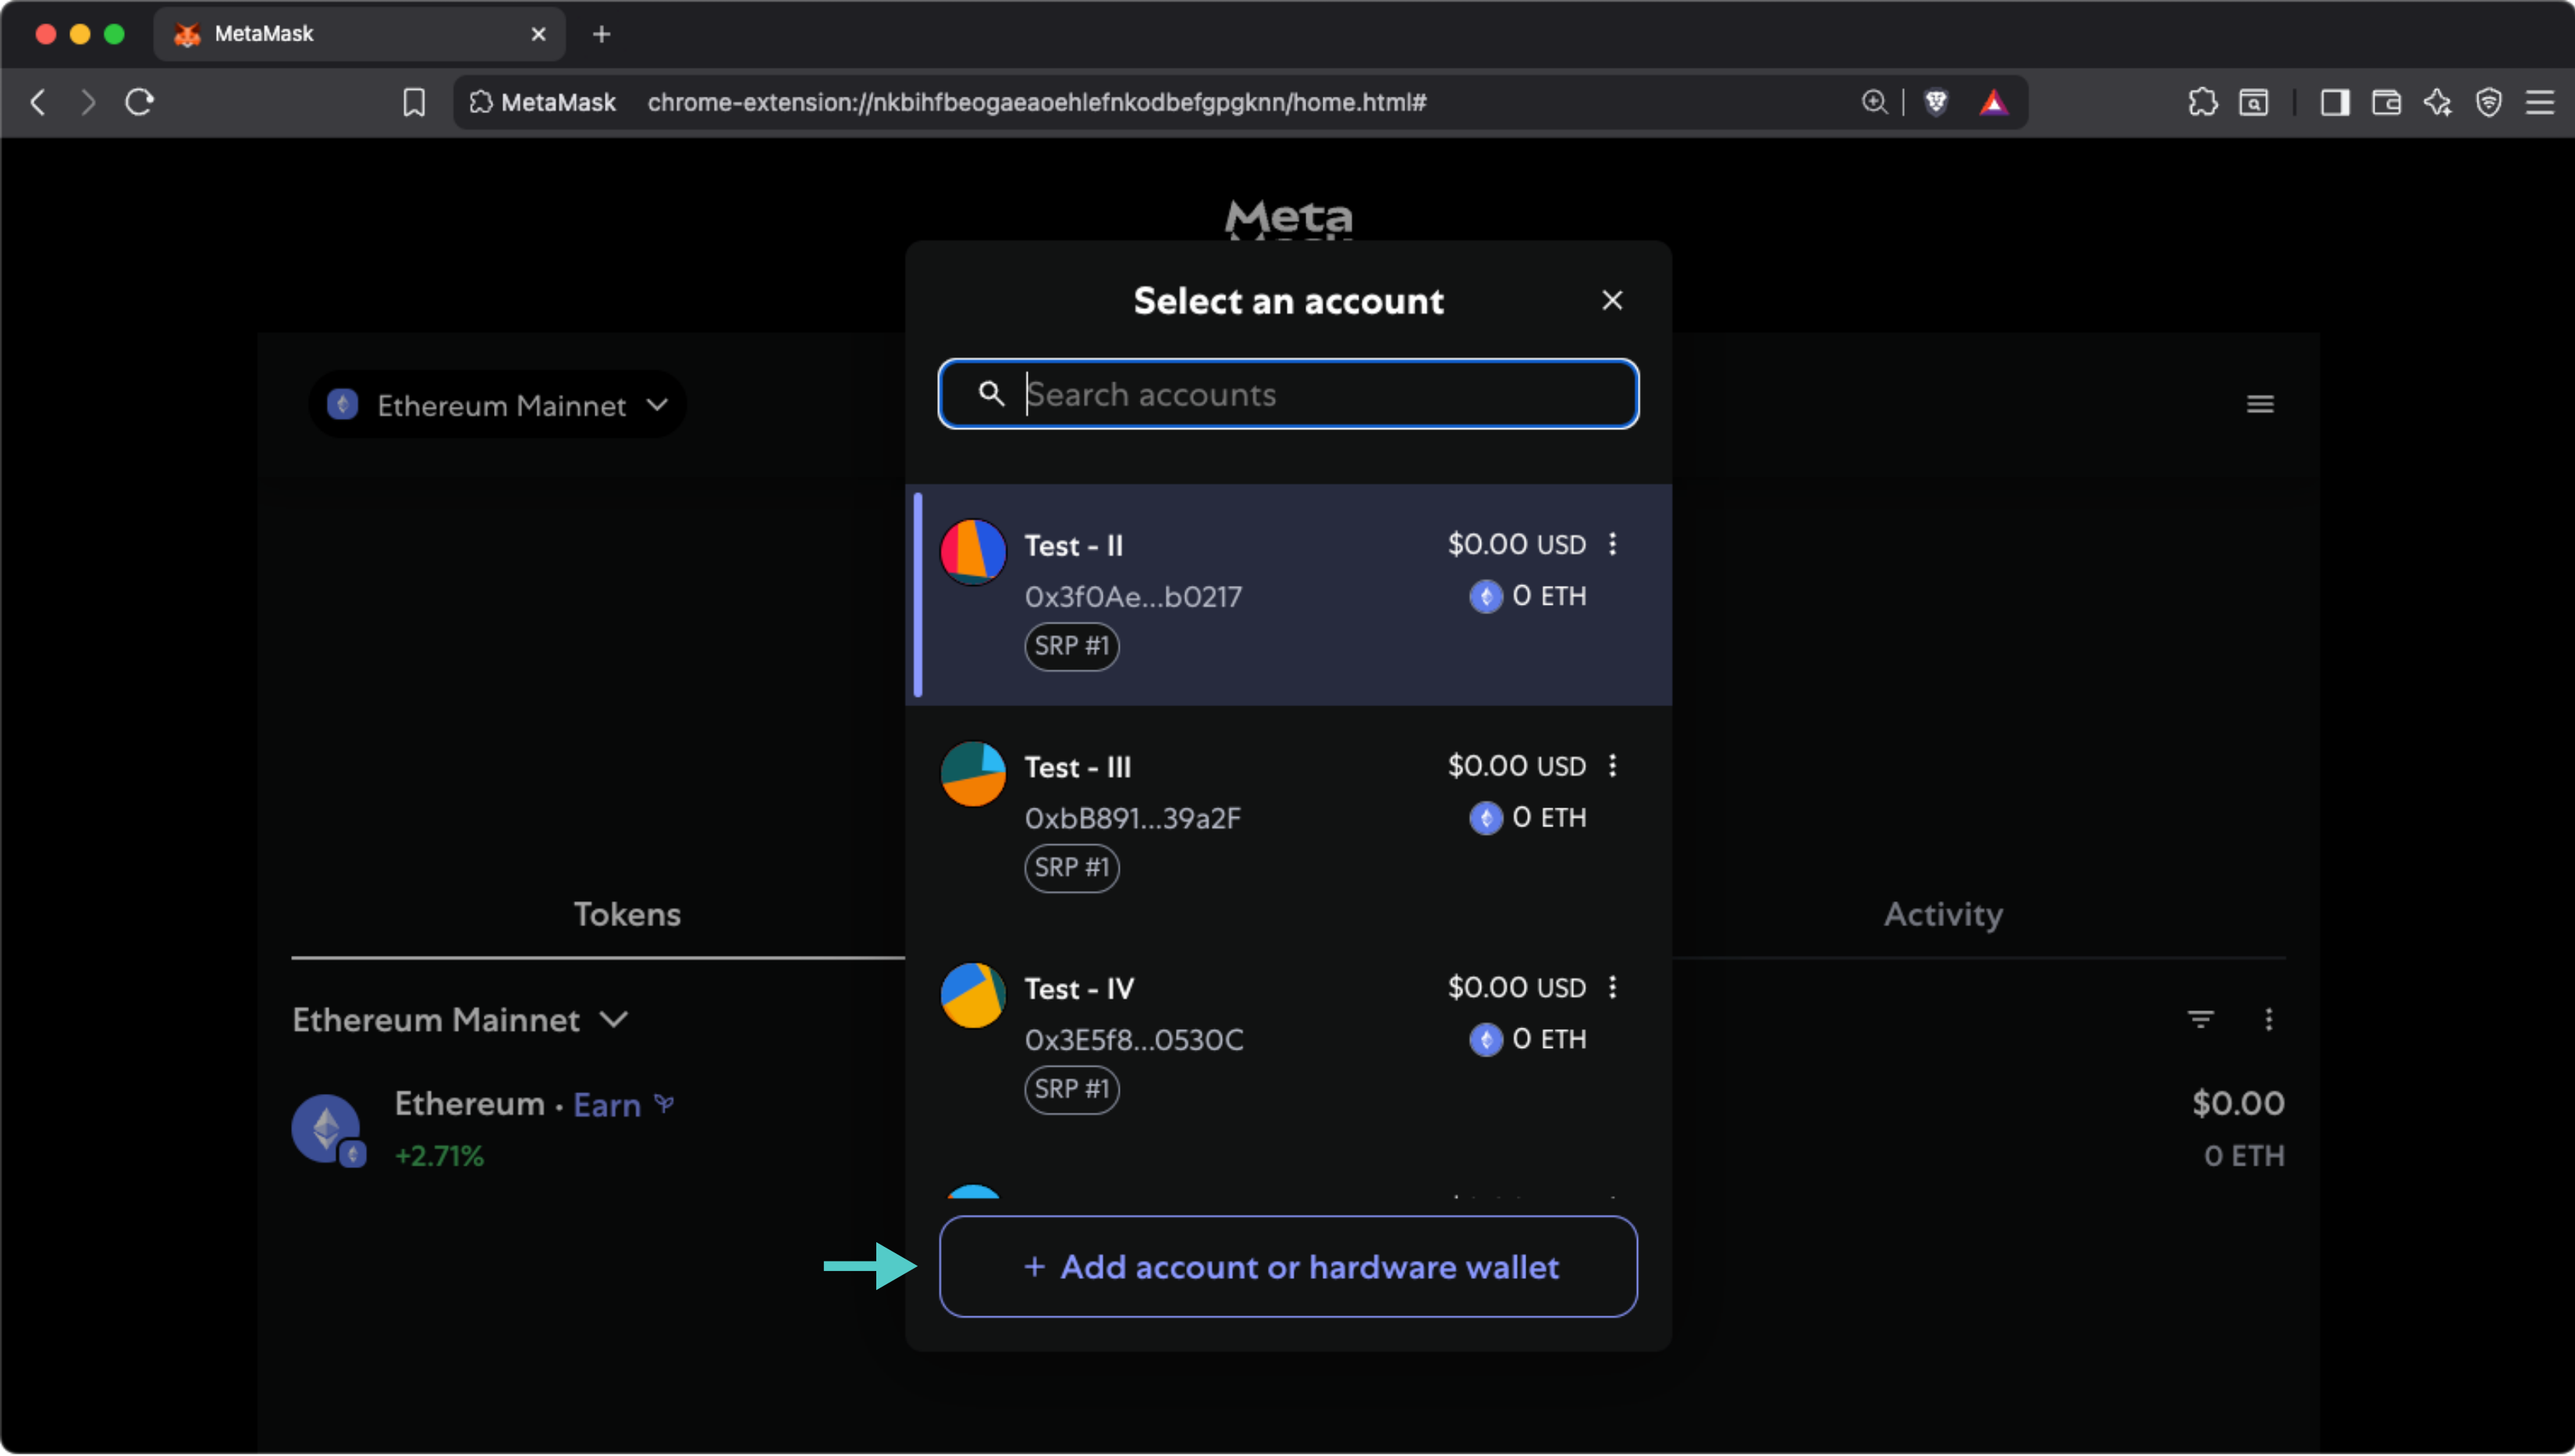
Now click on the + Add account or hardware wallet button.
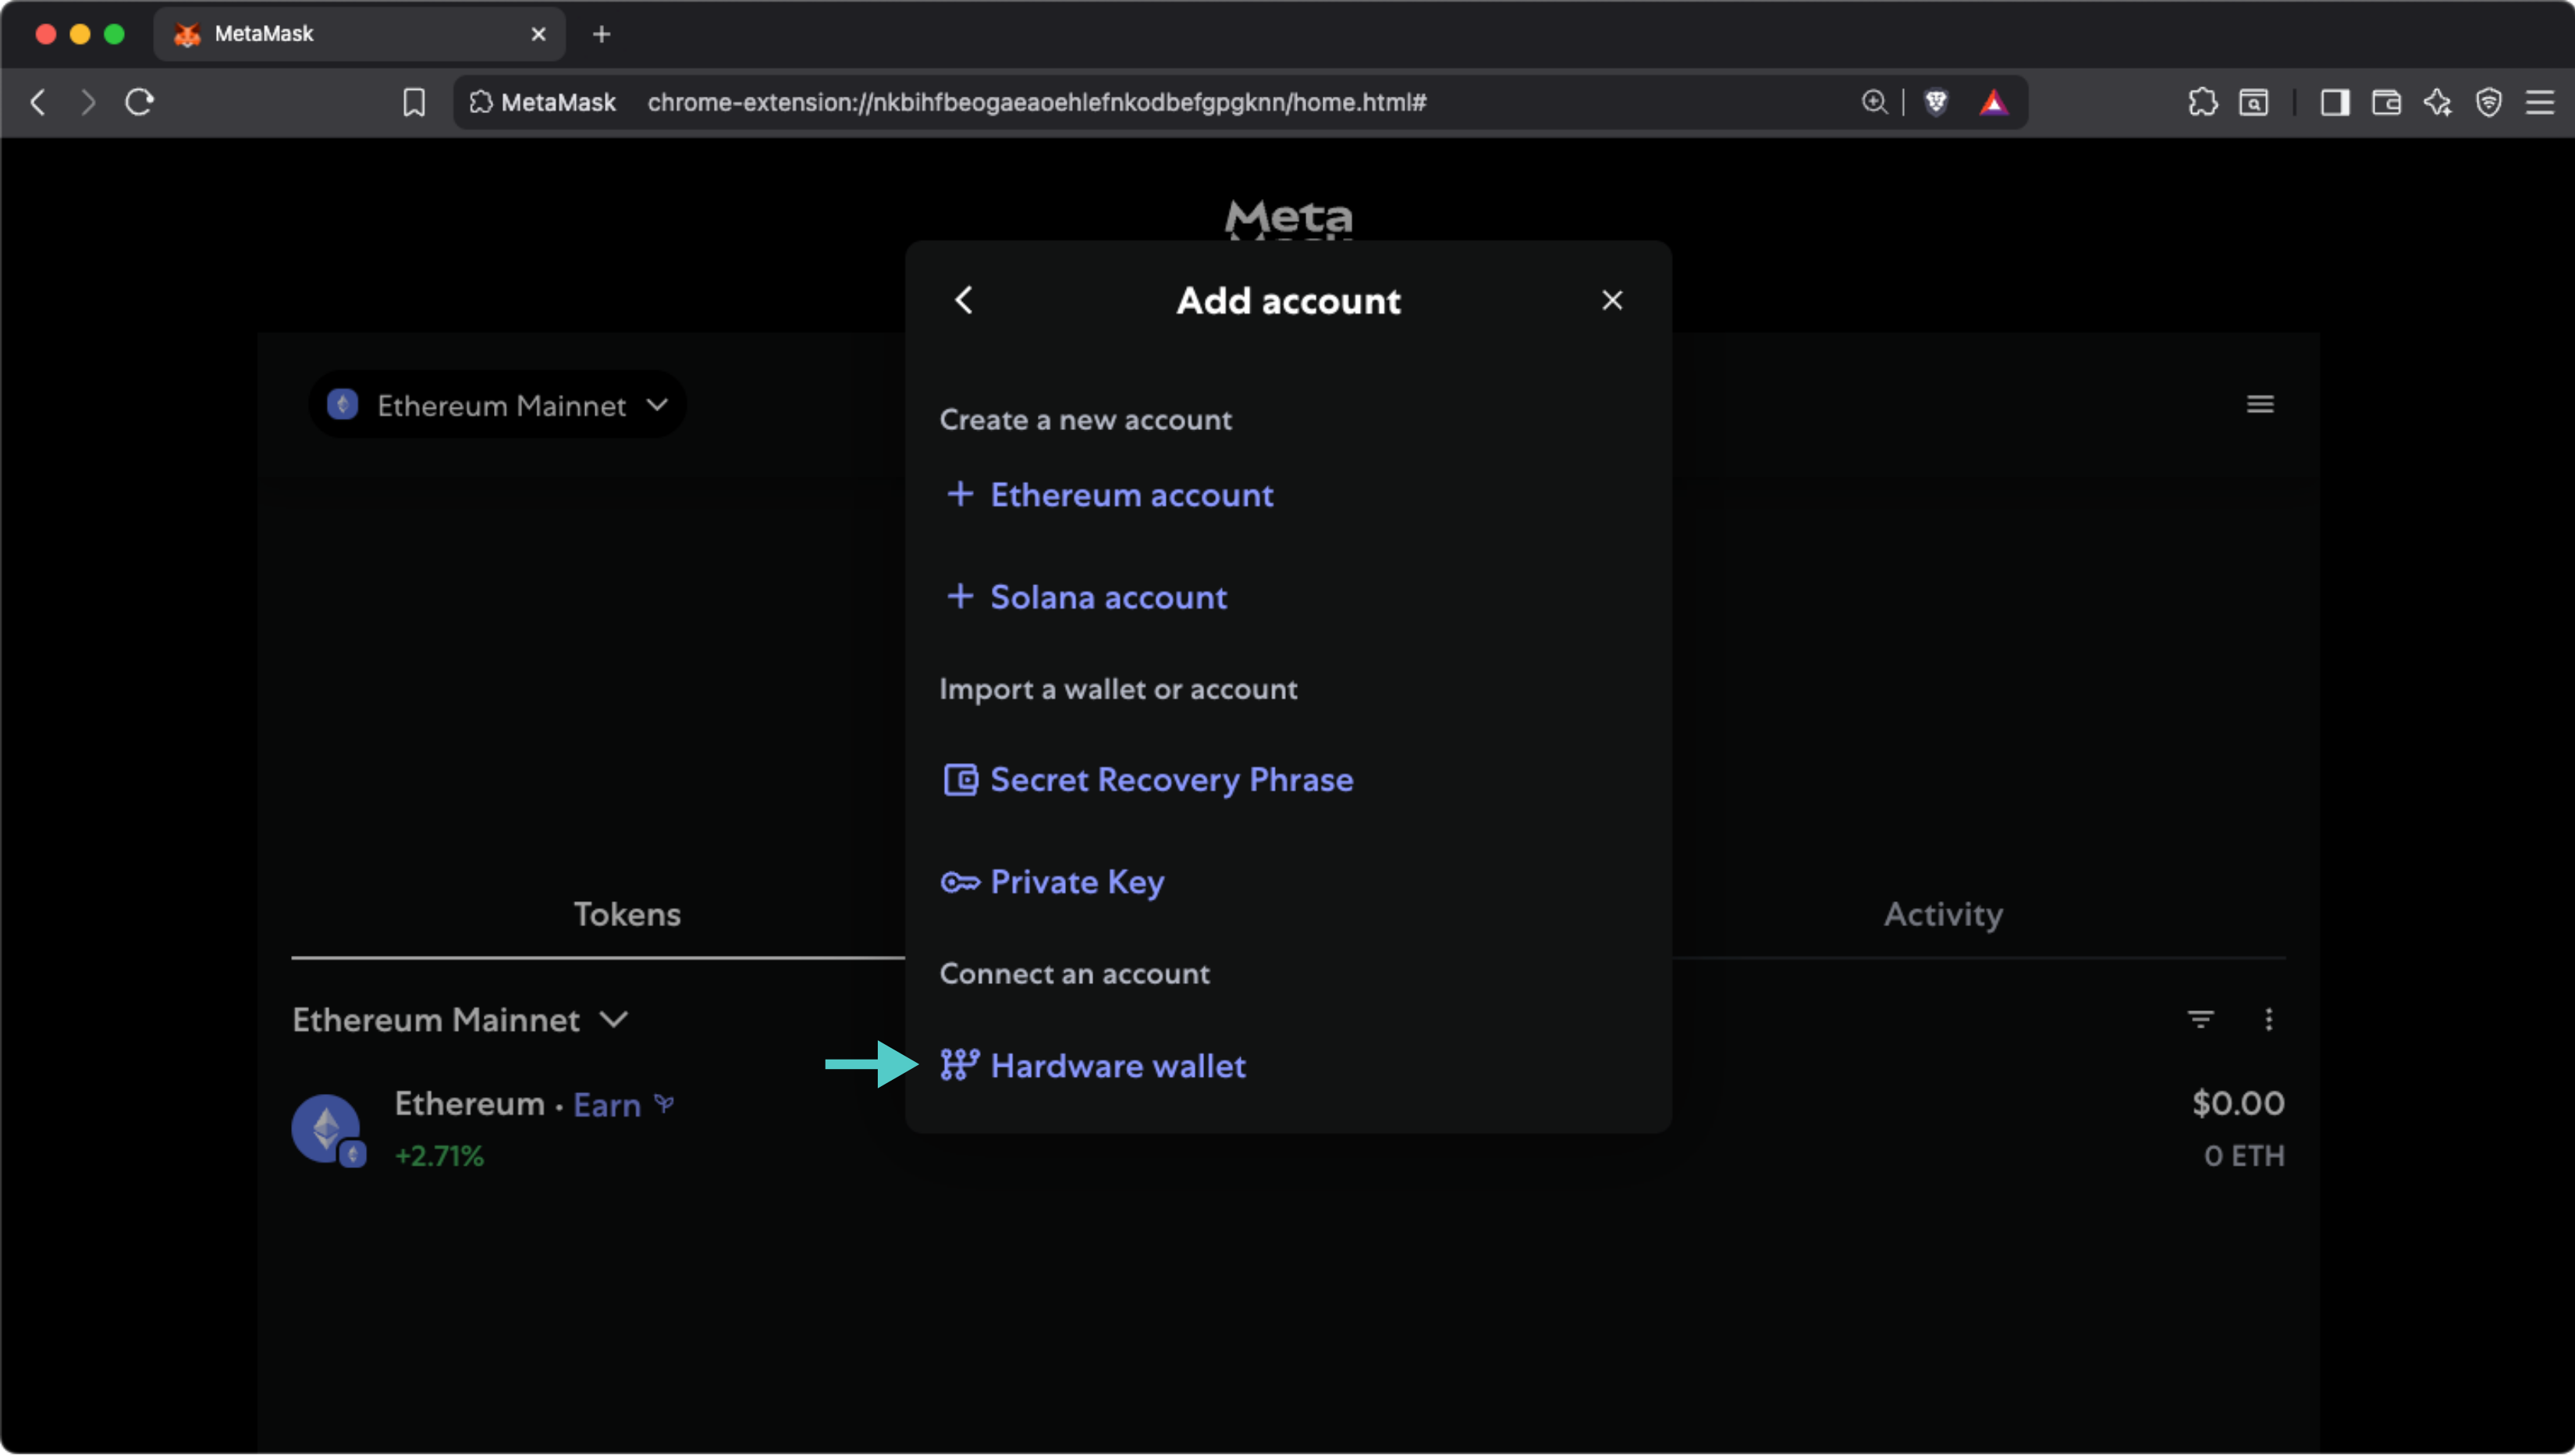
Select Hardware wallet from the available options.
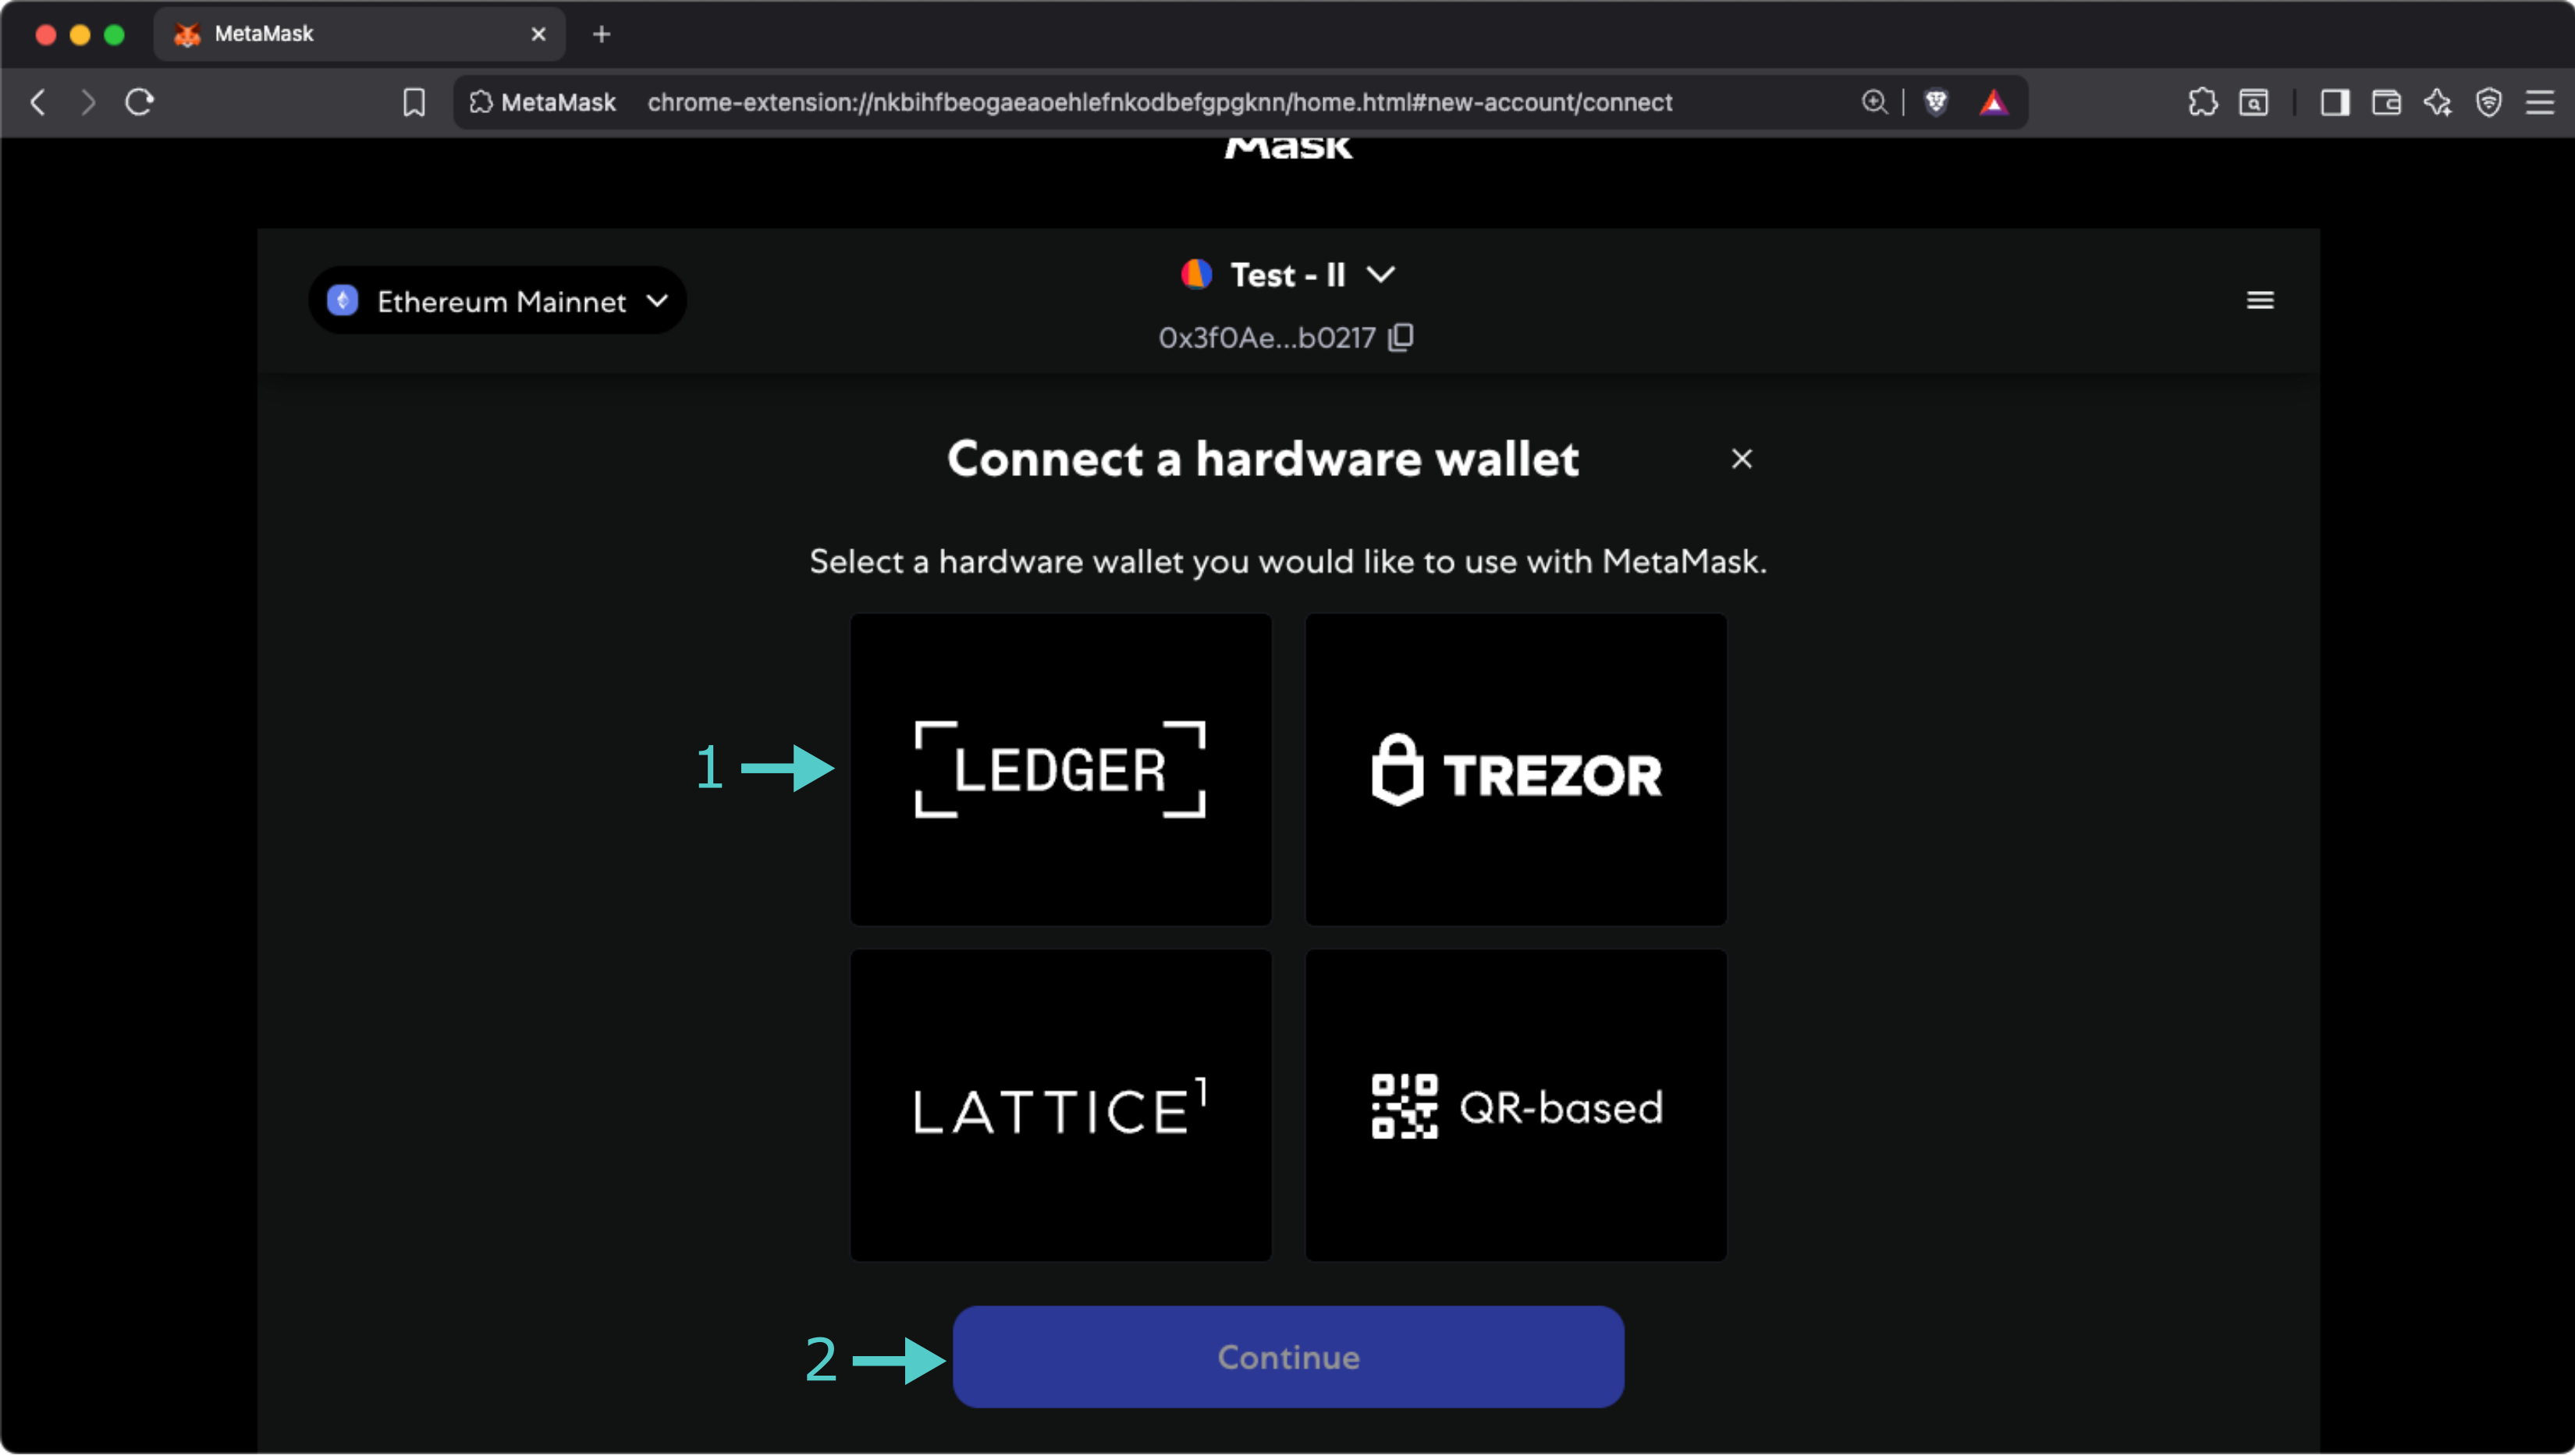
On the following screen:
- Select the LEDGER box. You'll be prompted to connect your Ledger, unlock it, and open the Ethereum app.
- Click on Continue.
Finally, you will be presented with a list of derived accounts. Select the one you want to import, click Unlock, and that's all! Your Metamask wallet can now sign transactions using your Ledger device.
| Created: July 17, 2025